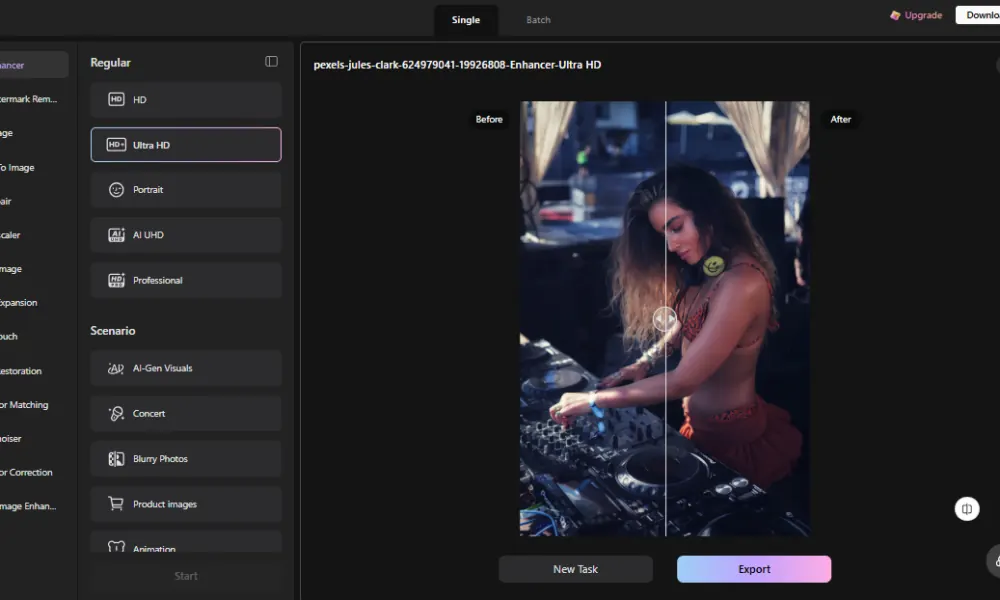
Upscaling a DJ press photo for festival posters, streaming banners, and large venue displays requires more than simply increasing resolution. Preserving natural skin texture, individual hair strands, and realistic detail is just as important.
Why Skin Looks Waxy After Upscaling
Most upscaling models run on convolutional filters built to remove noise. Skin and hair are exactly where that logic breaks down. Pores and fine lines are high-frequency detail, tight little variations packed close together. Sensor noise looks the same way to a filter trained on frequency, not meaning. So the model flattens both.
What's left is skin with a perfectly even tone. When that face appears on a large festival poster, especially against neon lights and dark backgrounds, the artificial look becomes even harder to ignore. A sharper original can lose more, not less. More resolution just means more real texture sitting in the file. Since the filter can't tell "pore" from "grain," there's simply more to misread and smooth away.
Hair edges get guessed, not traced. Sharpening passes work by boosting contrast along a clean edge. Hair isn't clean. It's hundreds of semi-transparent strands drifting over the background at different angles. The filter estimates where the edge probably is and sharpens that guess instead. When it misses the real boundary by a pixel or two, you get a faint glow where hair meets background.
Denoise Before You Upscale
Check the image for noise first. Any grain sitting in the original gets stretched along with everything else once the resolution goes up, so cleaning it now saves trouble later. Start with an AI image enhancer. The aim is to clean out the noise without sacrificing the nuances that give a press shot its heat: the outfit, the headphones, the shades, every hair strand, and the way skin looks in the studio and through the neon.
Use the enhancer's portrait mode rather than a general or scene mode. Portrait-only processing is meant to process skin and hair differently from the rest of the image. This is especially helpful in the case of electronic music artists, where moody lighting, dark backgrounds, and colorful effects can make it easier to spot over-processing.
Upscale Once, Not in Passes
Run the image through an upscaler in a single pass. With every upscale pass, minor approximations of details missing in the original are made. Fewer passes equate to less room for error piling on top of each other. Determine your target resolution by how you plan to use the output. Choose between various upscaling resolutions like 4K or 8K.
After the upscaled output is complete, check four areas: pore and skin texture, hair strands near the edges to ensure individual strands stay distinct and don't blend into a soft mass, fabric weave or clothing texture, and eyes and eyebrows where halo artifacts tend to show up first if the upscale was too aggressive.
Before the image is exported or modified, view it on-screen at full magnification to check texture, not only its general sharpness. The photo may be sharp from a normal viewing distance and yet lack the details that made it look realistic at full magnification.

Community Signals
Login or Sign up to broadcast on this frequency.
> No signals detected on this frequency.